 Save
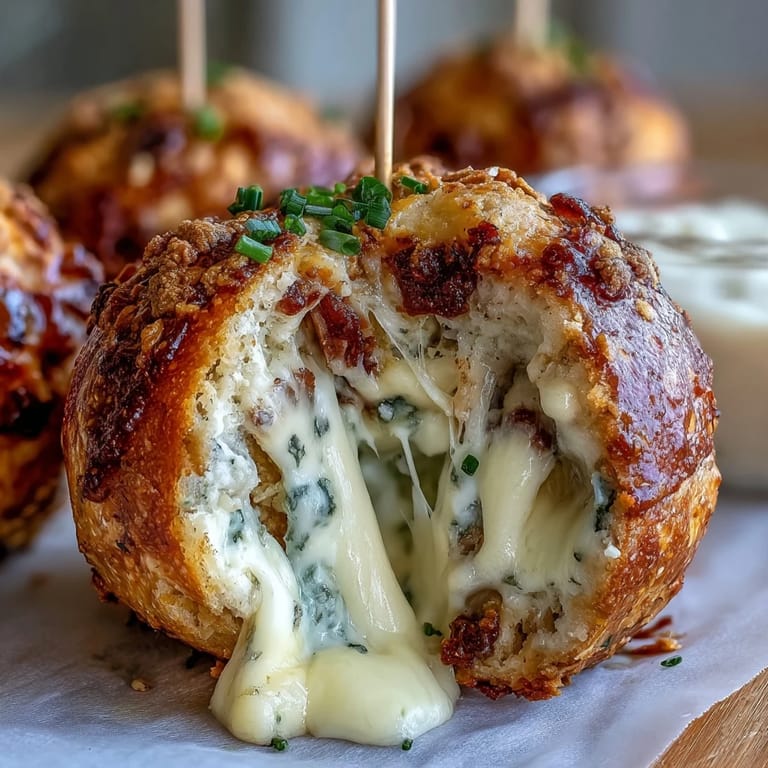
Save When good friends pile into the kitchen, hats half-cocked for Derby Day and the air prickling with excitement, Derby Party Olive Cheese Balls are my trusty secret weapon. No matter what bets are on the table, somehow, this savory little bite always manages to orbit around the laughter and storytelling. The sharp cheddar scent drifts out of the oven, nudging the memory of the first time I winged it with leftover cheese and olives, hoping for something to soak up mint juleps. Cheese balls on a skewer—simple, just cheeky enough, and impossible to stop eating. There’s a certain satisfaction in how each little ball looks crisp and golden, ready for a quick round at the races—or just the living room.
The last time I baked these, there was a thrum of excitement—someone kept hollering the horse odds as we rolled tiny balls, and flour dusted the countertops right alongside stray laughter. My cousin, usually lost to sports talk, spent ten sincere minutes sculpting dough around each olive and declared herself the official cheese ball whisperer.
Ingredients
- All-purpose flour: This gives structure to the dough—I've found sifting it leads to a lighter, more tender bite.
- Sharp cheddar cheese, shredded: Opting for a block and shredding it myself means the cheese melts right into the dough, making everything rich and flavorful.
- Unsalted butter, softened: Letting the butter come up to room temperature makes mixing far easier—no wrist strain, and the dough holds together beautifully.
- Cayenne pepper (optional): I add just a touch when the crowd likes a little surprise heat, but you can definitely skip or swap for extra smoked paprika to keep it mild.
- Smoked paprika: This isn’t just for color; it adds a warm smokiness that makes the cheese really pop.
- Salt: Even with salty olives, a hint in the dough balances everything out.
- Large green olives, pitted: Manzanilla olives are my go-to for that classic briny snap, but feel free to be playful with stuffed or spiced varieties.
- Appetizer-sized skewers or toothpicks: Skewers turn these into the ultimate passed-around snack; they just feel a little fancier (and you don’t get greasy fingers!).
Tired of Takeout? 🥡
Get 10 meals you can make faster than delivery arrives. Seriously.
One email. No spam. Unsubscribe anytime.
Instructions
- Get the oven and tray ready:
- Preheat your oven to 400°F (200°C) and line a baking sheet with parchment paper so nothing sticks and cleanup is a breeze.
- Mix up your dough:
- In a medium bowl, toss in the flour, cheddar, butter, cayenne if you're feeling spicy, smoked paprika, and salt. Dig in with your hands and squeeze or pinch the mix until it becomes a pliable, cheesy dough—it’s a little messy, but absolutely worth it.
- Divide & conquer:
- Pat the dough into a thick rectangle and use a table knife to cut it into 24 even-ish pieces—if you’re casual about it, that’s just over a tablespoon each.
- Wrap those olives:
- Flatten each dough piece in your palm, place a green olive at the center, and wrap the dough fully around it. Roll into a smooth ball—if a little olive peeks out, just pinch it closed.
- Chill for neatness (optional):
- Line up the finished balls on your tray; for a tidier look, chill them in the fridge for 10 minutes—it helps them bake up a little rounder, I promise.
- Bake golden:
- Slide into the oven for 16–18 minutes, then peek to see them turn a beautiful golden color—just lightly crisp and fragrant.
- Skewer and serve:
- Cool for five minutes, then stick each one on a skewer or toothpick and set them out while still a bit warm or let them linger at room temp—they won’t last long either way.
 Save
Save 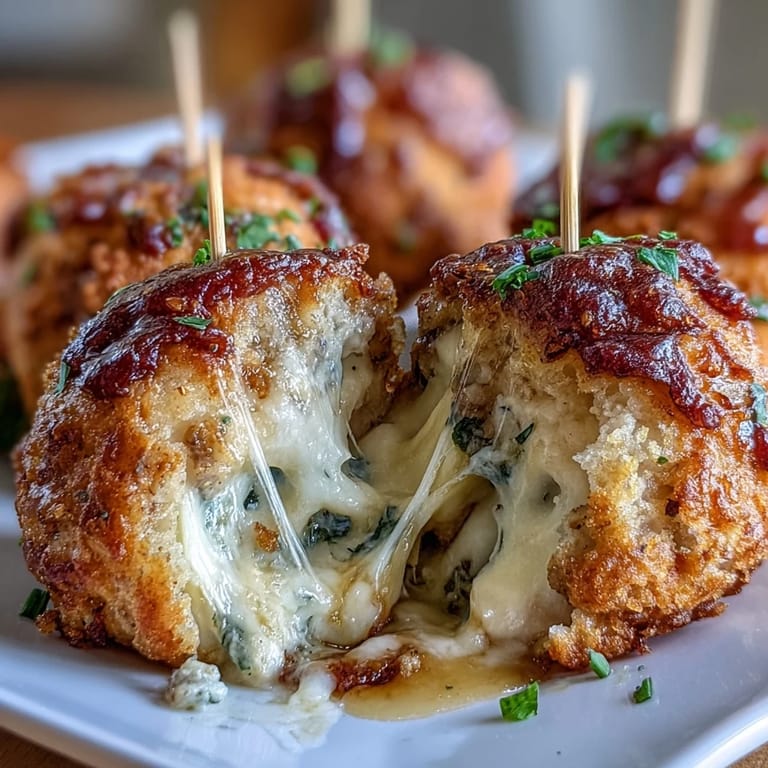 Save
Save I never expected these cheese balls to be conversation-starters, but at last year’s Derby, two guests ended up trading olive varieties and sharing stories from family kitchens. It felt like more than a snack—it was a little way to bring folks together over something warm and unexpected.
Fun Serving Ideas for Party Times
I discovered that a pretty tray and a few sprigs of fresh herbs make these look way fancier than they have any right to be. Sometimes I drizzle a dash of bourbon honey dip on the side, which has led to some impromptu recipe-sharing sessions from guests wanting to recreate the whole experience at home.
Swaps, Variations, and Troubleshooting
If you don’t have green olives, black olives or even pickled jalapeños change the vibe completely—my aunt swears by the spicy route for evening get-togethers. And if your cheese balls ever flatten or spread too much, check that your butter isn’t too melty and your oven’s hot from the get-go; more structure means puffier snacks.
Storing & Reheating Leftovers (If Any!)
Leftovers are rare, but I do tuck a few away in a lidded container if I’m lucky enough. When ready for a snack rerun, just pop them in a hot oven for about 5 minutes and they’re nearly as good as new—just as crisp, just as gooey.
- Let the cheese balls cool completely before storing, so they don’t get soggy.
- A quick broil works if you want an extra punch of crunch on day two.
- Hide a few for yourself before the party—they disappear fast.
 Save
Save 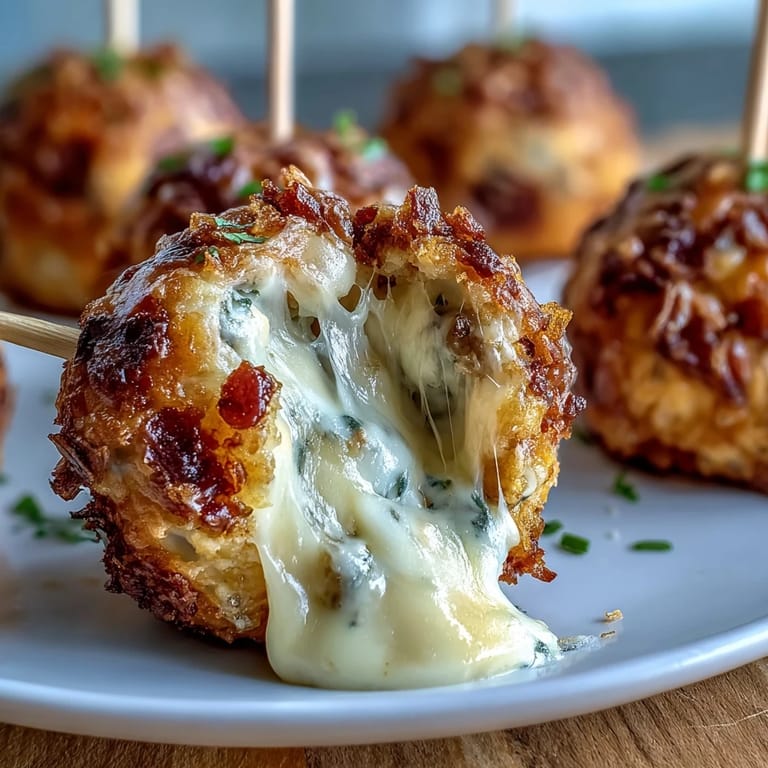 Save
Save Serve these cheese balls, and you’ll have everyone hovering near the snack table with grins and skewers in hand. Here’s to the small, baked things that turn any gathering into a little celebration.
Recipe FAQ
- → How do I prevent the dough from sticking?
Work the dough with cool hands and dust palms lightly with flour when shaping. Chilling the formed balls for 10 minutes firms the dough and reduces sticking, yielding neater spheres.
- → Which olives work best?
Pitted green olives such as Spanish Manzanilla offer a briny contrast to sharp cheddar. For variation try black olives or jalapeño-stuffed olives for extra heat and texture.
- → Can I prepare these ahead of time?
Yes — assemble and chill the balls on a baking sheet, then cover and refrigerate for several hours. Bake directly from chilled for best shape retention. Store leftovers airtight and reheat in a moderate oven to restore crispness.
- → How do I get a golden exterior?
Chilling before baking helps maintain shape and encourages even browning. Brushing with a little milk or melted butter before baking promotes a deeper golden color without altering flavor.
- → Any easy swaps for gluten or dairy allergies?
Use a gluten-free all-purpose flour blend in place of wheat flour and try a firm plant-based butter plus a dairy-free shredded cheese. Expect a slightly different texture and adjust hydration as needed.
- → What are good dipping partners or service ideas?
Pair with grainy mustard, a bourbon honey dip, or a tangy aioli. Serve warm on skewers as passed bites or arranged on a platter with fresh herbs for a Derby-themed spread.